

Taking photos during the night can be a challenge, especially if you have moving subjects or lights. For cityscape photographers, especially beginners, it is even more of a challenge. Here are a few ways to be sure you will take the best photos at night in cities.
INVEST IN THE BEST CAMERA ACESSORIES FOR YOUR SHOOT
To take the best night photos of a city, you will need to invest in some quality camera gear. The main thing you will need is a tripod and remote shutter release. This allows you to perfectly time your shot without the worry that you will move the camera and compromise your camera’s focus settings. You should also invest in a lens hood because it helps to reduce lens flare from light sources outside of your frame. It is also a good idea to bring a flashlight with extra batteries along with you. It is dark outside, so you will need to be able to see to operate your camera or your camera’s accessories.
SHOOT IN APERTURE PRIORITY MODE
Most photographers use either the aperture priority mode or manual mode. Using the aperture priority will allow you to control all of the camera’s settings, apart from the shutter speed. Primarily, you will want to control the ISO. The ISO, is the level of sensitivity your camera has to available light. You’re going to want to keep this low. If your ISO is too high, your photos will come out grainy. Be sure to shoot in this mode so you can control this and save yourself lots and lots of time in post editing. Of course you can take night photos also in manual mode. Most cityscape photographers want to control aperture and ISO, so it is up to you whether you choose aperture priority or manual mode. If the scenery is very dark you might end up in bulb (because your shutter speed is above 30 seconds to get the right exposure). For some cameras you need to use manual mode in this case, for other cameras there is a bulb-mode on the dial on top of the camera.
START SHOOTING IN THESE SETTINGS
Just after sunset it is possible to take photos around 1/50 of a second. For this you will need steady hands. Even the slightest motion will give you a result you don’t want. That is why using a tripod and shutter release is important. Half an hour later it is already to dark and you have to use a tripod to make high quality (so low ISO) photos. If you don’t have a tripod try to look for a little wall, fench or bench to put your camera on. This will stabilize your camera.
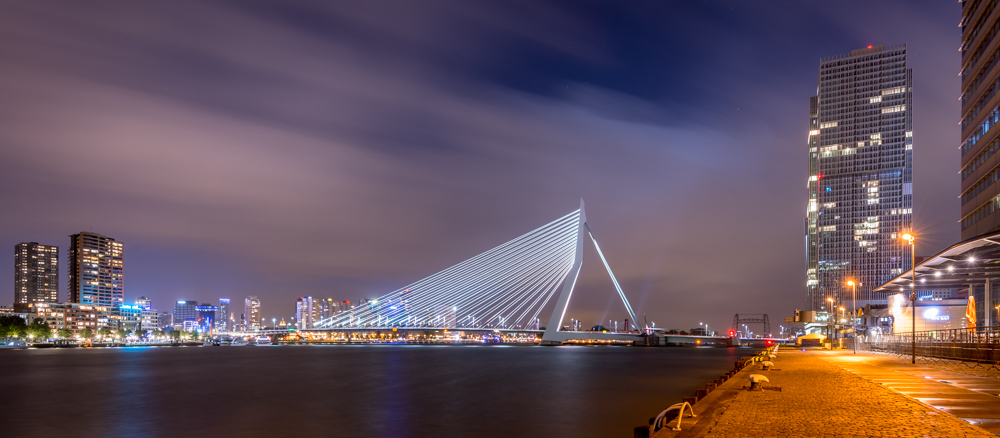
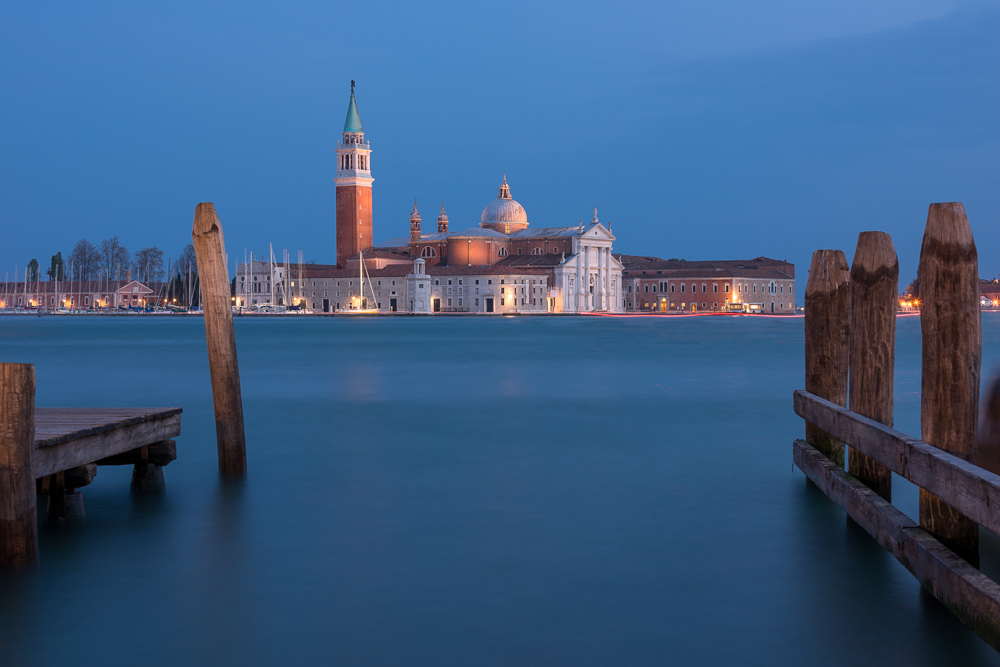
DON’T MISS THE BLUE HOUR
Most cityscape photographers prefer the blue hour to shoot night photos. The sky has a deep blue color and that really looks awesome! Use a website like the Blue Hour Site to find out at what time the blue hour starts and ends. This hour is called blue hour, but the best blue color is only there for about 15 minutes. So make sure you don’t miss it.
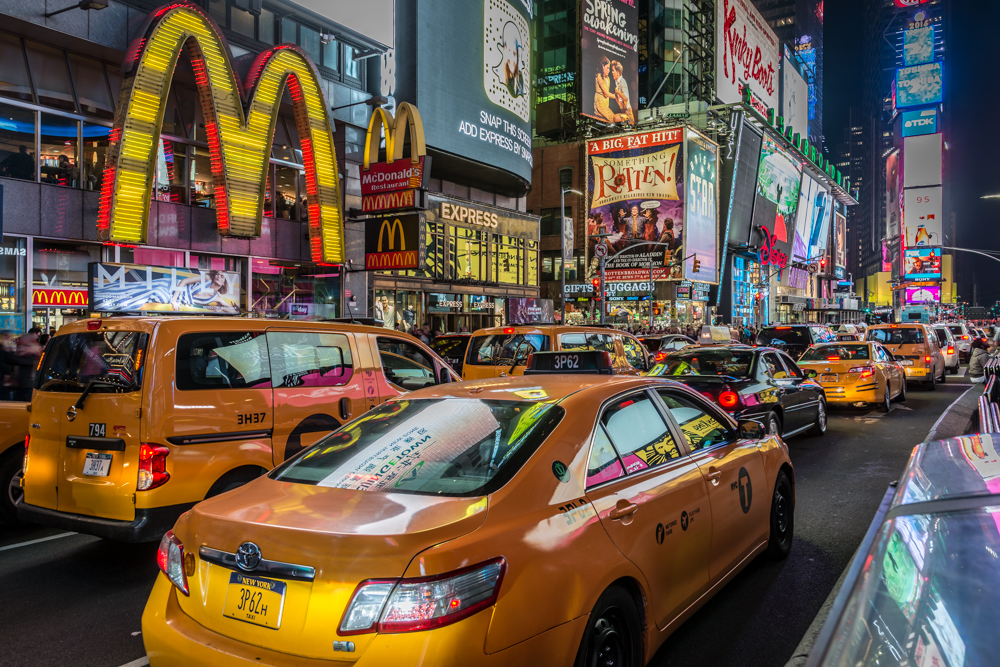
TRY TO SKIP THE FLASH
This suggestion is mainly for street photography. Because it is dark, taking photos with the flash on can cause some unwanted attention. You will probably be approached by someone in your shot who will request you do not photograph them and take their photo off of your camera. It is important to remember that, in the U.S. and other countries, anyone is allowed to photograph anyone as long as they are on public property. Just be careful when using the flash. Instead, you can try using the glow from dim street lights to capture shadows. In areas like New York City, head to the brightest and most busy part of your town to use the light there. You will see the mood in the photo will be even much better compared to the bright flash.
KNOW YOUR CITY
Just generally, be sure you know where you are going, especially at night. We all know that parts of every city are more dangerous than others. If you’d like to ere on the side of caution, you can travel lightly, only bringing a small camera bag with some of your essential accessories. Steer clear, if you can, of the more dangerous sides of town. Also, search your smartphone’s app store for maps of your location. This will help you not only navigate the city, but can also help you know departure times for subways, buses or trains that can help you get to the next stop for your shoot.
BRACKET YOUR PHOTO’S EXPOSURE
Light varies in a city. As previously mentioned, places like Time Square in New York can be a lot brighter than some of the areas on the outskirts of your city. To combat strong contrast, you can bracket your shot to take multiple exposures of the same scene. This will help you avoid taking a photo with heavily under or over exposed areas that can difficult to clean up in post editing. Some camera’s come with auto bracketing. To find out information on yours, search online. Odds are, your camera’s manufacturer has a tutorial or instruction manual on their website on how to use the bracketing setting.
As you can see, shooting at night doesn’t have to be a difficult process. If you follow these steps, you are sure to get the city photo of your dreams.

